The AdSense settings module brings everything you need to connect your Google AdSense account directly into one central place. It verifies your site, injects the required global Auto Ads code, and ensures your Publisher ID is correctly written in the ads.txt.
In short: once configured, you have a clean, compliant, and future-proof AdSense setup—without touching a single line of code.
To access these features, open AdPresso > Settings > AdSense.
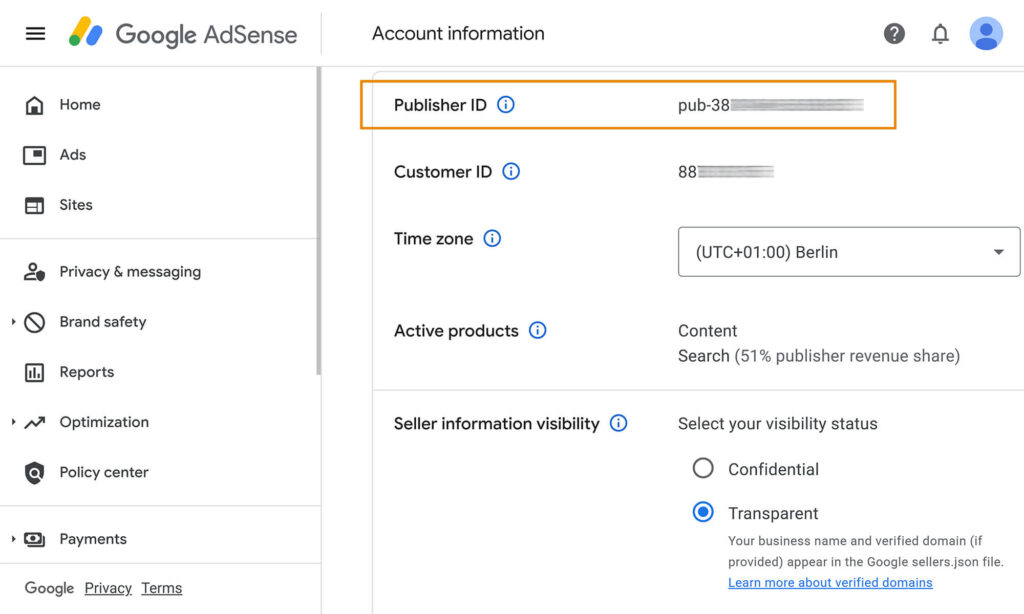
Flip the module toggle to enable AdSense functionality. Once active, enter your Publisher ID (for example: pub-1234567890123456) in the corresponding field. You can find this ID in your AdSense dashboard under Account > Settings > Account Information.
With the module activated and your ID in place, AdPresso immediately initiates all needed compliance processes in the background.
The ads.txt file is mandatory for verifying authorized digital ad inventory. Missing or incorrect entries can quietly cost you revenue, especially as buyers increasingly enforce strict authorization checks. AdPresso simplifies this by automatically handling the file.
As soon as you add your Publisher ID, the plugin writes the correct Google entry into your ads.txt file—no manual edits, no second-guessing. Your inventory is correctly authenticated, and your site remains compliant.
To verify your domain and activate Auto Ads, Google requires a global script to be placed in your site’s <head> area. Instead of editing your theme or pasting snippets across multiple locations, AdPresso injects this code for you with a single click.
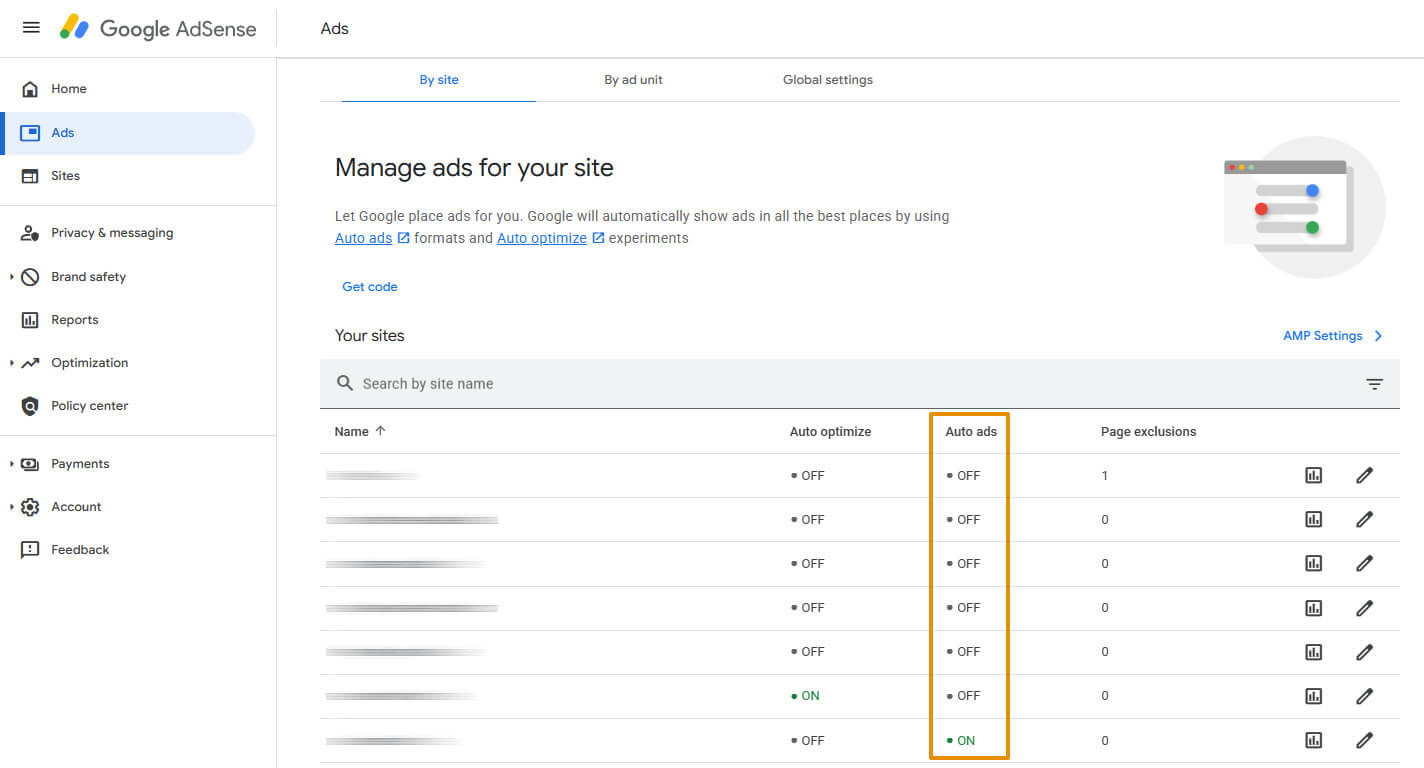
After enabling the module, a new AdSense Auto Ads section appears. Click the button to activate automatic code injection. AdPresso creates a dedicated placement and corresponding ad unit behind the scenes, places the script in the correct position, and keeps it active until you toggle it off.
If you ever want to pause the global script injection, you can disable it with the same toggle.
After finishing the setup inside AdPresso, two quick actions remain on the AdSense side:
Yoú must complete both steps before you are ready to serve ads. Once Google has processed the verification and confirmed the global script, the first placements will start filling automatically. It may take a little time for ads to appear, especially on newly added sites.